
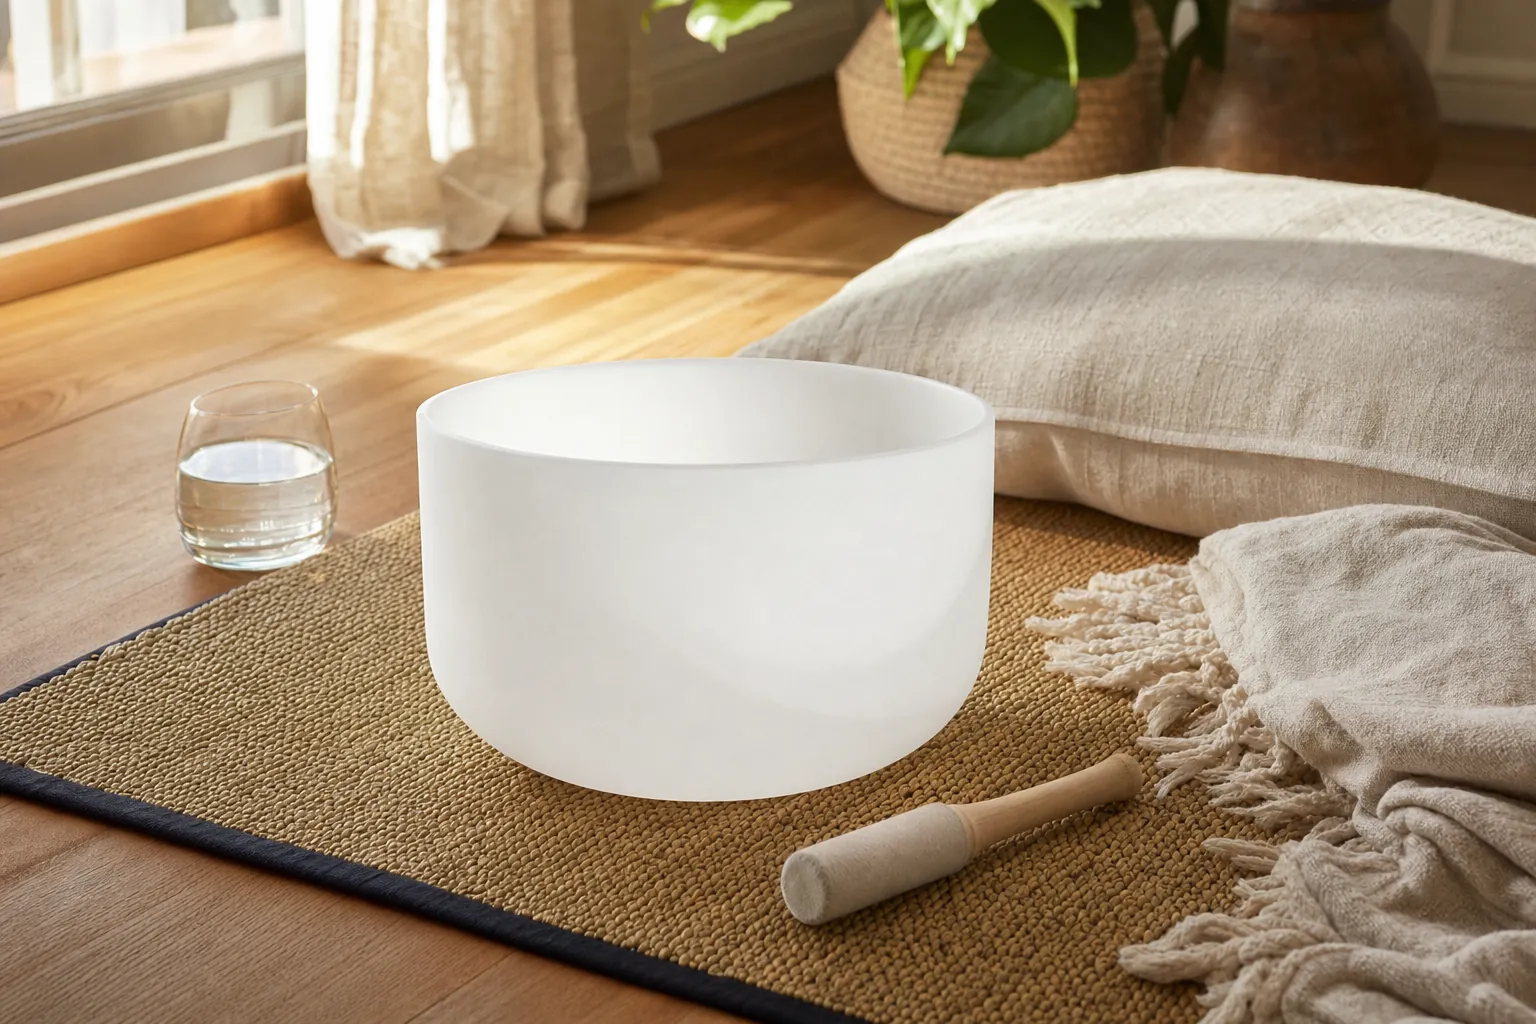
A singing bowl can look like a small sacred object that requires special knowledge, but the first useful thing to know is much simpler: you do not need to make a perfect sound for the practice to count. A bowl is an instrument. It responds to pressure, pace, and attention. Your job is to meet it with enough patience to hear what it can do, then notice what happens in your own body while you listen.
This beginner's guide focuses on one bowl, one mallet, and a short repeatable practice. You do not need a shelf full of instruments or a dramatic ritual. You can use a crystal bowl or a metal singing bowl, sit in a chair or on the floor, and take five quiet minutes between ordinary parts of the day. The goal is not to force calm or prove that you are spiritual enough. The goal is to create one clear sound, listen to it fade, and give yourself a moment to arrive.
If you are new to the larger practice, start with what a sound bath is. A singing bowl can be part of a group sound bath, but it can also stand on its own as a simple listening tool at home. For a guided practice built around listening rather than playing, the sound bowl meditation guide offers a gentle ten-minute sequence.
What a singing bowl can and cannot do
A singing bowl produces a sustained tone when it is tapped or when a mallet moves slowly around its rim. The sound gives your attention something concrete to follow: the first clear note, the changing texture, the quiet after it fades. Some people use that listening as part of meditation, journaling, prayer, or a transition after work. Others simply enjoy learning an acoustic instrument that rewards a lighter touch.
It is wise to keep the claims around any wellness practice grounded. The National Center for Complementary and Integrative Health describes meditation and mindfulness as practices that can involve focusing on a sensation, thought, image, or other point of attention. A singing bowl can be one of those points of attention. It is not a replacement for therapy, medical care, medication, emergency support, or treatment from a qualified health professional.
Let the bowl be a support, not a demand. You do not need to feel transported. You do not need to release an emotion on cue. You may simply notice that your shoulders drop when you stop rushing, or that your mind has somewhere kind to return when it wanders. That is already useful information.
Choose one bowl and one mallet
Crystal and metal bowls can both work well for a beginner. Crystal bowls often make a clear, bell-like tone that carries easily through a room. Metal bowls can have a warmer, more layered sound and are often easier to hold. There is no universally better choice. The best first bowl is one that feels stable, sounds comfortable at a gentle volume, and makes you want to pick it up again.
If you are shopping in person, ask to hear the bowl at a low volume before you buy it. Notice whether the sound feels pleasant, neutral, sharp, or tiring. You are not looking for a frequency that promises to fix a specific part of your life. You are looking for an instrument that your ears and nervous system can meet without bracing. If you are buying online, start modestly and give yourself room to learn rather than treating the first purchase as a lifetime commitment.
Use the mallet that comes with the bowl at first. A padded striker is usually helpful for a clear tap. A suede-covered or wooden mallet can be useful for circling the rim, depending on the bowl. Keep the bowl on a flat, steady surface, a small cushion, or the open palm of your non-dominant hand. Avoid balancing it on a wobbly table, a stack of books, or anything that could make the bowl slide.
Step 1: Make a clear first tone
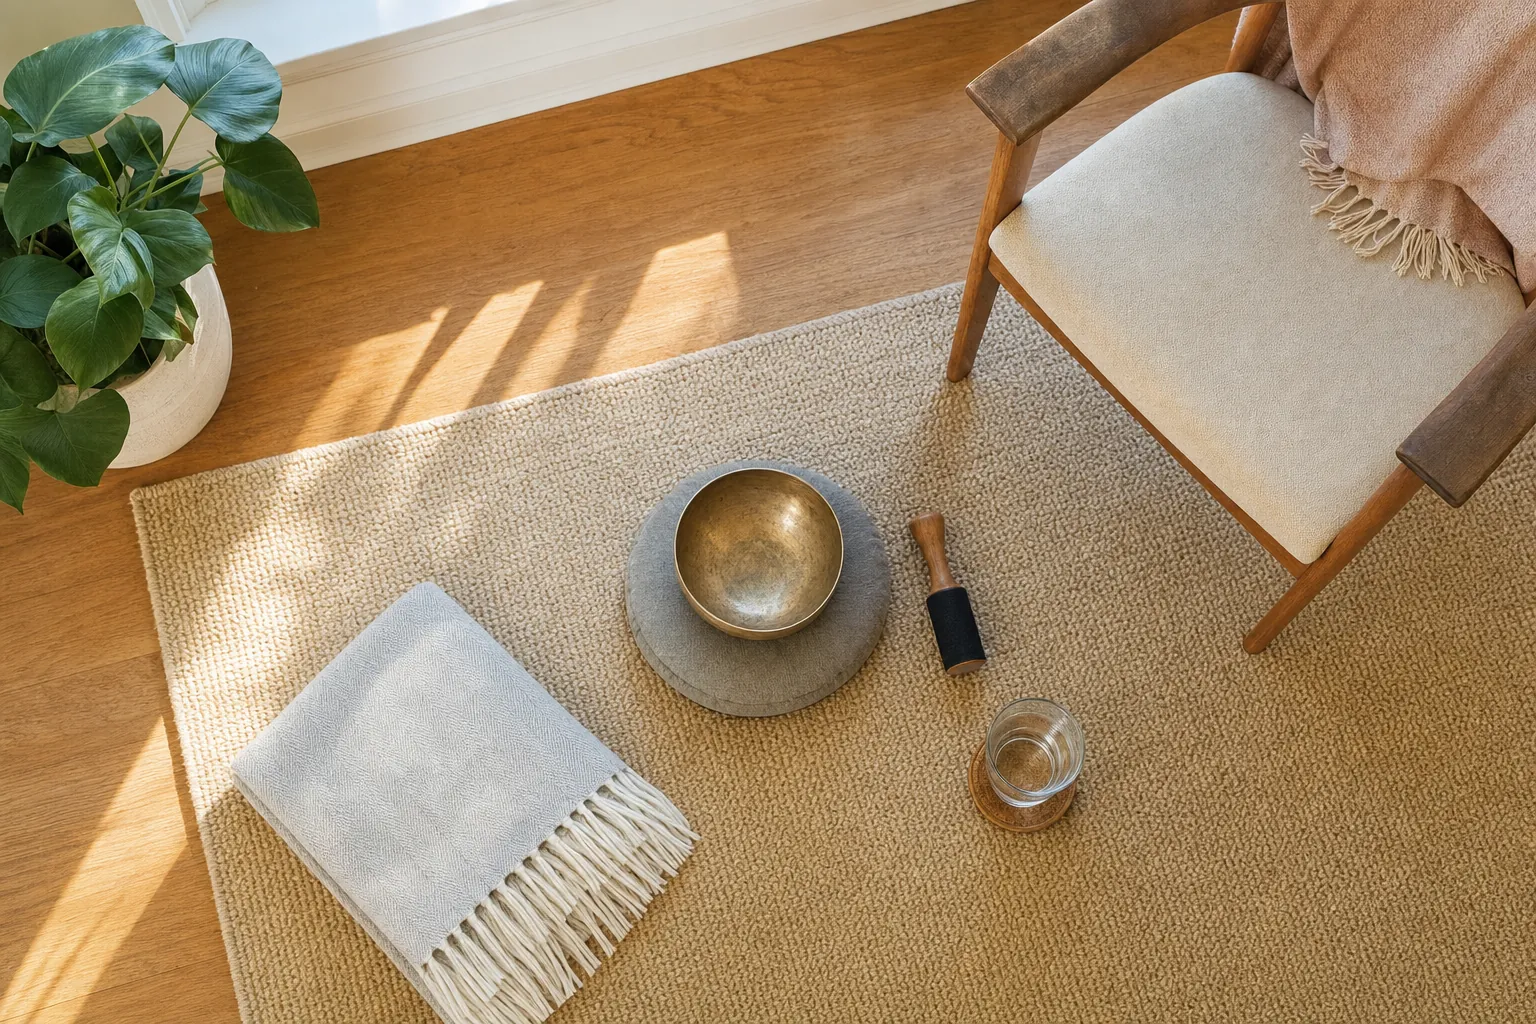
Sit in a position that feels easy to leave. A chair is completely fine. Rest the bowl on its cushion or hold it in your open palm without gripping it tightly. Take one normal breath. Then tap the outside edge of the bowl once with the padded end of the mallet. Think of it as a friendly knock on a door, not a drum solo.
After the tap, do nothing for a few seconds. Listen for the beginning of the tone, then the point where it starts to thin and soften. A common beginner move is striking again before the first sound has had time to unfold. Letting the tone finish teaches you more about the bowl than chasing a louder sound ever will.
If the sound is dull or short, adjust one thing at a time. Place the bowl on a firmer cushion. Hold it with a flatter hand. Tap a little closer to the upper side of the bowl. Use slightly more intention, not more force. A bowl can be quiet and still be clear. You are learning its response, not trying to make it fill a concert hall.
Step 2: Circle the rim slowly
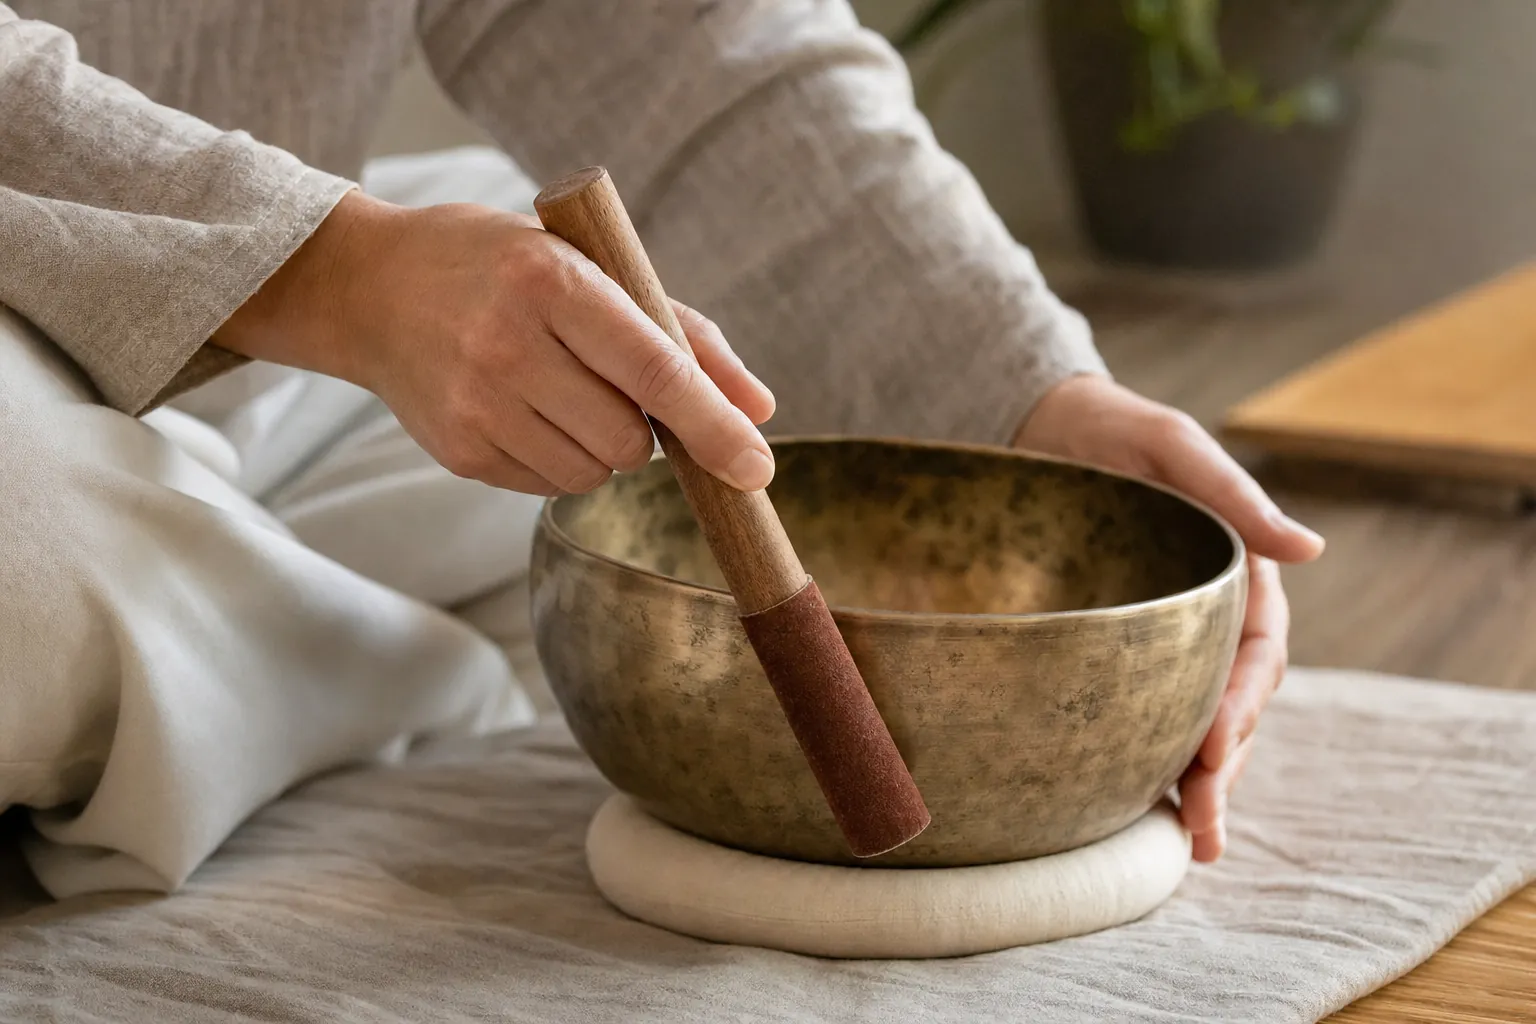
Once a single tap feels familiar, try creating a sustained tone. Hold the mallet upright, with the covered end touching the outside rim. Start with light, even contact. Move around the bowl slowly, as though you are tracing the rim rather than scrubbing it. Keep your wrist relaxed and let your arm make the circle.
At first, the sound may wobble, squeak, disappear, or refuse to begin. That is normal. Most of the time, the answer is to slow down and reduce pressure. Too much pressure can choke the vibration. Too much speed can create friction before the bowl has found its voice. Return to a single gentle tap, take a breath, and try again with less effort.
Different bowls respond differently. A metal bowl may prefer a slightly firmer contact. A crystal bowl may prefer a smooth, steady pace. Let the sound teach you. If the tone becomes harsh, stop and begin again rather than pushing through. There is no prize for forcing an instrument, and the softer method is usually the more musical one.
Step 3: Keep the volume kind to your ears
Louder is not deeper. Keep the bowl far enough away that you can hear it clearly without feeling startled by it. The National Institute on Deafness and Other Communication Disorders recommends reducing exposure to sounds that are too loud, too close, or too long. That is a useful rule for a home bowl practice. If your jaw tightens, your ears ring, you feel dizzy, or the sound makes you want to pull away, lower the intensity or stop.
Do not place a bowl against your head, ears, or body to make the practice feel more powerful. Keep the first practices simple and give yourself plenty of distance. A soft sound across the room can be more welcoming than a loud sound beside your shoulder. Headphones are not needed when you are playing your own bowl. Let the room be part of the experience.
If you have hearing concerns, tinnitus, a recent concussion, strong sound sensitivity, or any medical reason to be cautious with sound, check with the appropriate clinician before experimenting. You can also choose a different practice entirely. Humming, a quiet walk, a guided meditation, or sitting in silence may fit your body better that day.
Step 4: Turn three minutes into a small practice
Set a timer for three minutes. Begin with one tap. Follow the sound until it fades. Tap again only when the room feels quiet enough to receive the next tone. Between sounds, notice one physical detail: your feet on the floor, the chair at your back, the temperature of the air, or your breath moving without being controlled.
If you are circling the rim, use only enough movement to create a comfortable tone. Pause when you need to. Alternate between a tap and a slow circle if that is easier. You are not performing for anyone. You are practicing attention. When your mind runs ahead to your plans, worries, or shopping list, name it gently as thinking and come back to the next sound.
A simple bowl practice can also become a doorway into a longer home reset. The 20-minute sound bath at home guide shows how to pair gentle sound with a comfortable setup and an unhurried closing. On days when playing feels like one decision too many, choose one of Dr. Asia's guided meditations and let someone else hold the pace.
Step 5: Close before you rush away
When your timer ends, let the last sound fade fully. Put the mallet down. Feel your feet or the seat under you. Open your eyes if they were closed and look at three ordinary things in the room. Drink water. This may sound almost too simple, but it helps the practice stay connected to the day you are actually living.
A small closing also protects you from turning the bowl into another task you grade yourself on. You do not have to decide whether it worked. You can simply notice whether you feel more settled, more alert, or exactly the same. A brief practice may be valuable because it gives you a pause, not because it produces a dramatic result.
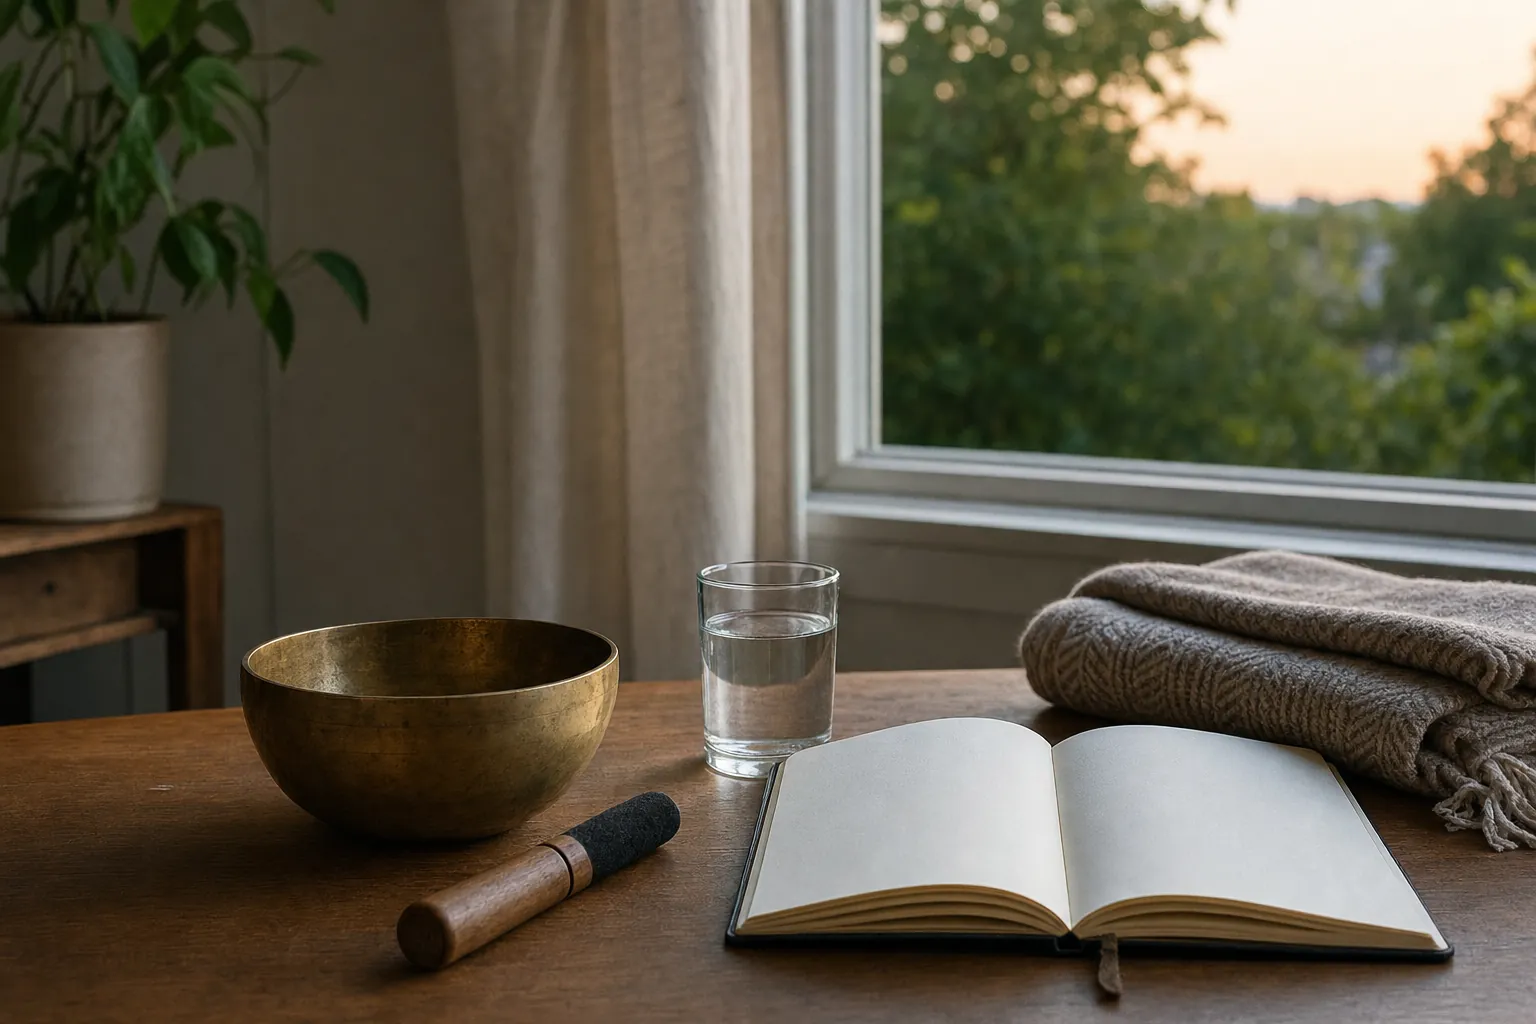
If you want to remember what you noticed, keep a journal nearby. One sentence is enough: the bowl was easier to play today; the sound felt too sharp; I felt restless; I liked the silence after the tone. Over time, those small notes can teach you when sound feels supportive and when your body is asking for something else.
Common beginner problems and gentle fixes
If the bowl will not sing, start with a tap instead of a circle. Make sure it is stable and not touching another object. Relax your grip on the mallet. Move more slowly, use a little less pressure, and keep your contact consistent. A clear tone often arrives after you stop trying to make the bowl prove itself.
If the bowl squeaks, you are probably moving too quickly, pressing too firmly, or using a mallet that does not suit that bowl. Pause. Reset your hand. Try a slower circle with lighter contact. If it still squeaks, that does not mean you have failed. Some bowls simply ask for more practice, a different mallet, or a different playing style.
If your mind is too busy, make the practice shorter, not stricter. Listen to one tone and stop. Keep your eyes open. Place a hand on your thigh. Stand rather than sit. Sound is one possible anchor, not a rule you must obey. The version that leaves you more able to meet your next hour is the right version for today.
When a guided session or training may help
A personal bowl practice is a beautiful way to learn what you enjoy, but you do not have to figure out every part of sound work alone. Dr. Asia's community sound bath events in West Palm Beach offer a shared experience where you can listen without managing the instruments. Her private sound and vibrational sessions create more room for the volume, pacing, and support to be shaped around what you are carrying.
If you feel drawn to study the instruments more deeply, the Creatrix Academy course library includes sound-healing foundations and Crystal Bowl Mastery. That is a better next step than collecting more bowls and hoping technique appears by magic. Start with a real practice, then let curiosity tell you whether you want to go further.
For now, keep it small. Choose one bowl. Make one gentle sound. Wait long enough to hear it change. The practice does not need to be complicated to be meaningful. It only needs to leave you a little more present than when you began.
Frequently asked questions
How do beginners use a singing bowl?
Begin with the bowl on a steady cushion or in your open palm. Tap the outside edge gently with the padded end of the mallet, then wait and listen until the sound fades. Once that feels familiar, touch the mallet to the outer rim and move it slowly in a circle with light, even pressure.
Why will my singing bowl not make a sound?
Most beginner problems come from moving too quickly, pressing too hard, gripping the bowl tightly, or using an unstable surface. Start with a single gentle tap, then try circling the rim more slowly with lighter contact. Different bowls respond to different mallets and pressure, so make one small adjustment at a time.
Should I use a crystal or metal singing bowl?
Either can be a good first bowl. Crystal bowls often create a clear, bell-like tone, while metal bowls can have a warmer, more layered sound. Choose the sound and size that feel comfortable to you rather than looking for one universally correct option.
How long should I play a singing bowl?
Three to five minutes is a useful starting point. A short practice gives you time to listen without turning it into a task. You can stay longer when the sound still feels comfortable and you genuinely have room for it.
Can singing bowls be too loud?
Yes. Keep the bowl at a comfortable distance and stop or lower the intensity if your ears ring, your body tenses, or the sound feels overwhelming. A gentler tone is enough for a meaningful practice, and louder is not better.
Can a singing bowl replace therapy or medical care?
No. A singing bowl can be part of a personal wellness or spiritual practice, but it does not replace therapy, medical diagnosis, medication, emergency support, or care from a qualified health professional.


